Authentic Thai Recipe for
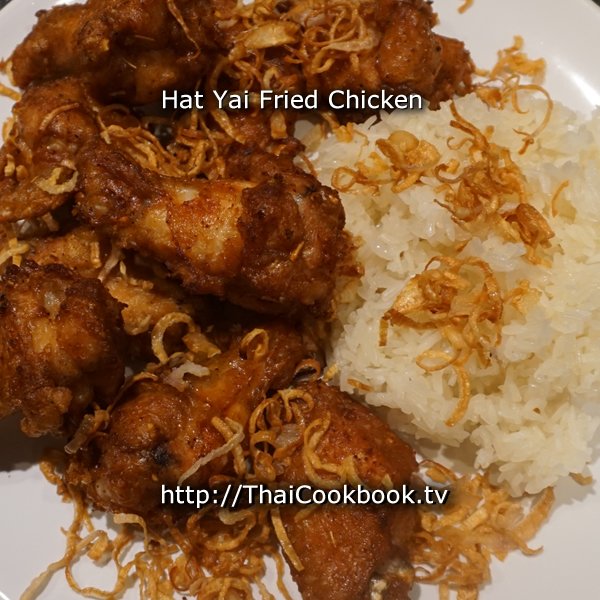
Hat Yai Fried Chicken
Authentic Thai Recipe for
Hat Yai Fried Chicken
ไก่ทอดหาดใหญ่ (Gai Tod Hat Yai)
✔ You gave this recipe a 5 star rating.
Currently rated:Rated 4.5 Stars from 5937 reader reviews
First published on July 13, 2015
Recipe by W. Tipsuwan
Yield: 6 - 8 servings
Prep time: 20 Minutes
Cooking time: 10 Minutes
Ready in: 30 Minutes
Ingredient List:
- 1 1/2 - 2 Pounds Chicken Wings
- 6 cloves Garlic
- 2 - 3 Coriander Root
- 1/2 teaspoon Black Peppercorns
- 1/2 teaspoon White Peppercorns
- 1 1/2 Tablespoons Sugar
- 1 teaspoon Salt
- 3 Tablespoons Light Soy Sauce
- 1 1/2 teaspoon Dark Sweet Soy Sauce
- 1 Cup Rice Flour
- 1/2 Cup Water
- 1 Cup Red Shallots
- 2 Cups Glutinous Rice
- 1 1/2 liters Vegetable Oil
About my Gai Tod Hat Yai:
About my Gai Tod Hat Yai:
This Thai fried chicken recipe is popular at street food vendor location throughout Thailand, but it is originally from Hat Yai in the southern part of the country. While the recipe varies from chef to chef, the one thing that is always included are the crispy fried shallots. We marinate ours in a dark and rich seasoning made with lots of garlic, coriander root, peppercorns, soy sauce, dark sweet soy sauce, sugar, and salt, then we use the marinade to make a thick batter for the chicken. It fries up dark and crispy, with sweet and peppery undertones. As popular as KFC is in Thailand, nothing beats a couple of pieces of Hat Yai chicken with some freshly cooked sticky rice, topped with these savory little fried shallots.
Step by Step Directions:
Step by Step Directions:
How to Make Gai Tod Hat Yai
How to Make Gai Tod Hat Yai
Step 1
Hat Yai Chicken is normally served with sticky rice. If you want to make your own sticky rice for this recipe, then soak about 2 cups of glutinous rice in water for about 5 hours before starting. Alternately, you can make the rice up to one day before so it's already done.

Step 1
Clean and slice the shallots very evenly, and thin.

Step 1
Lay the sliced shallots on an oven rack to dry a little before frying. If it's a hot sunny day, you can sit them in the sun to dry for about 30 minutes. Here I used a hot oven and just put them in for about a minute.

Step 1
Cut the coriander root into very small pieces, and peel the garlic cloves.

Step 1
Using a mortar and pestle, grind the peppercorns until they are roughly ground, then add the coriander root and grind together.

Step 1
Add the garlic and grind all 4 ingredients together until you have a rough herbal paste.

Step 1
Put the paste in a mixing bowl with the soy sauces, sugar, and salt. Mix it all up well until the sugar dissolves, then put this marinade in a large zip lock bag with the chicken. Add a small amount of water if need to make enough liquid to marinate the chicken well.

Step 1
Remove the extra air from the bag, seal it, then lay flat with all the chicken soaking in the marinade. Marinate for about 2 - 3 hours.

Step 1
About 1 hour before the chicken is read, steam the sticky rice. Drain the soaking water and rinse the rice well, then put it in a cheesecloth bag.

Step 1
Boil some water in your vegetable steamer and lay the bag in it. Be sure the water is not coming up and touching the rice, as you just want to steam it. Cook for about 30 - 45 minutes, turning the bag over, mixing the rice, and adding water to the steamer often. When it's done, the rice will be translucent, soft and sticky.

Step 1
Next we'll fry the shallots. Put the oil in a deep pot or pan over medium heat. It's is very important that you not have the oil too hot, so you really should have a thermometer to check it, or a deep fryer with a thermostat so the oil stays in the right temperature range. I do mine at 120°C or about 250°F. At this temperature they will fry up in about 2 minutes.

Step 1
Stir them often and remove them from the oil when golden brown.

Step 1
When it is time to fry the chicken, pour the bag of chicken with the marinade into a large mixing bowl. Sprinkle in a little rice flour and mix it in with your hands.

Step 1
Keep adding rice flour, a little at a time until the batter is about like thick pancake batter.

Step 1
Heat the oil in a deep pan or pot to exactly 175°C or 350°F. If the oil is too hot, the chicken will burn before it's all the way cooked inside. If too cool, the breading will be oily. Use a thermometer and check the temperature while cooking to adjust the heat to maintain it. Add just a few pieces of chicken at a time. Do not crowd the oil or it will lower the temperature and the pieces will stick together.

Step 1
These wing pieces take about 7 - 8 minutes, but if you are cooking large pieces of chicken it might take 15 - 20 minutes to cook. Keep the heat low and cook longer if cooking big pieces of chicken. The breading should be dark brown when finished. Remove from the oil and cool on a wire rack for at least 20 minutes before serving.

Step 1
Serve on a big plate to be shared at dinner or for a party, together with a large pile of sticky rice. Sprinkle the fried shallots over everything.