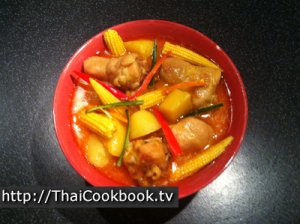
Authentic Thai Recipe for
Yellow Curry with Chicken
Authentic Thai Recipe for
Yellow Curry with Chicken
แกงกะหรี่ไก่ (Kaeng Kari Gai)
Currently rated: ![]()
Rated 4.5 Stars from 3767 reader reviews
First published on April 9, 2014
Recipe by W. Tipsuwan
Yield: 2 - 3 servings
Prep time: 15 minutes
Cooking time: 30 Minutes
Ready in: 1 Hour
Ingredient List:
- 2 Whole Chicken Legs
- About 2 Cups Coconut Milk
- 2 - 3 Potatoes
- 1/2 Brown or Yellow Onion
- 1 cup Baby corn
- 2 Tablespoons Yellow Curry Paste
- 1 - 2 teaspoons Fish Sauce
- 1 - 2 Tablespoons Coconut Sugar
- 1 - 2 Cups Water
- 1/2 Thai Long Chili
About my Kaeng Kari Gai:
About my Kaeng Kari Gai:
Kaeng Kari Gai is perhaps one of the most commonly known dishes served at Thai restaurants outside of Thailand. The creamy sweetness of the coconut and the subtle flavors of cumin, coriander, and just a hint of Thai chile make it very enjoyable for people who don't normally eat spicy foods. To us, this curry stew is the ultimate Thai comfort food. It's just so delicious on a Chiang Mai cold season night.
This recipe calls for chicken leg and thigh meat, chopped into pieces with the bone left in. If you do it this way your curry with have the most amazing flavor.
Khun Worawut likes to make his own yellow curry, which is a bit of a challenge when you are new to Thai cooking, but using a packaged curry paste is perfectly acceptable. There are 2 kinds of yellow curry, so be sure to get the one that says แกงกะหรี่ or has a picture of Kaeng Kari Gai on it. If you have no luck finding it, or want to get the whole experience, make our recipe for Kaeng Kari Paste first.
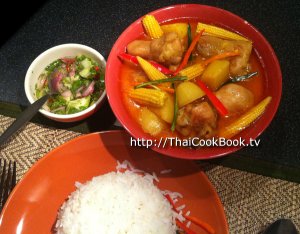
Yellow curries are often served with Ajaad (อาจาด), a delicious cucumber and shallot relish, as a condiment. You may have eaten it before, as it's one of the sauces that we serve with Thai satays. The fresh clean taste is just perfect along side a hearty bowl of Kaeng Kari Gai, and the complimentary colors will make your table sparkle. Here is the recipe.
Step by Step Directions:
Step by Step Directions:
How to Make Kaeng Kari Gai
How to Make Kaeng Kari Gai
Step 1
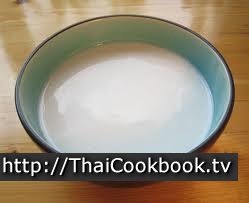
Open the coconut milk without shaking it up, and pour it into a large bowl. Let it stand for about 15 minutes while you prepare the rest of the ingredients. This will allow most of the fat to settle on top.
Step 2
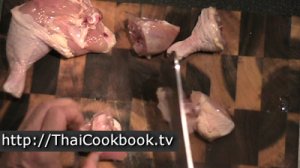
Using a meat cleaver or large knife, chop the chicken legs into 2 inch pieces. Leave the bone in. If you really don't like the bones, you can take them out, but you'll probably need to add more chicken meat so the curry stays thick and chunky. If you need to use breast meat you can, but using leg meat with the bones cut allows a lot of flavor to come out into the stew. It will taste a lot better done my way.
Step 3
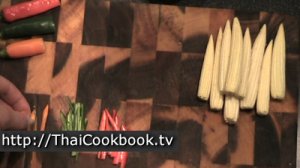
Cut some red, green, yellow or orange chilies into thin slivers for the garnish. You can also use thinly sliced kaffir lime leaves, if you have them.
Step 4
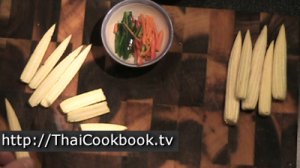
Split the baby corns in half, and cut then into 2- 3 inch lengths if they are long. You can use canned baby corn, but drain them well and rinse away any salt that may be in the water. Canned corn is cooked already, so be careful not to let them cook too long after you add them to the curry.
Step 5
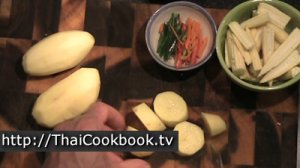
Peel and cut the potatoes into large chunky pieces. Do not dice them into small pieces, as you want to see the potato in your bowl of curry.
Step 6
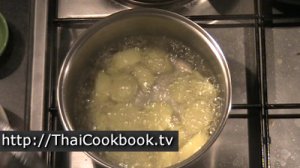
Par boil the potatoes for just about 5 minutes in a small saucepan with enough water to cover them. The potatoes will still be hard, not cooked through.
Step 7
Peel half a large onion, then slice it into large, thick slices.
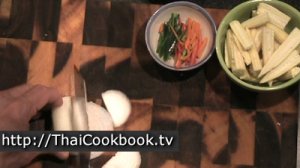
Step 8
Heat a large frying pan or wok over medium flame. I use a frying pan with a lid, as this keeps the curry from drying out a lot while cooking. If you don't have a good pan with a lid, or use a regular wok, then you'll probably need to add more water while cooking. Either way works fine.
Using a measuring cup, scoop out about half of the coconut from the bowl where it has been sitting. You want to use the top portion, as this will now have more of the fat. Add it to the warmed pan, and let it start to bubble a bit. Then add the curry paste. Mix it together as much as you can, and let it cook for about 2 minutes, stirring often.
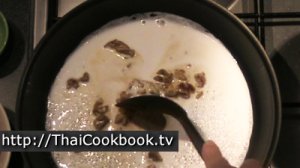
Step 9
When the curry and coconut is nice and bubbly and has a rich orange-yellow color, add half of the sugar and half of the fish sauce. You don't want to put too much, this will just get it started. You'll season it more to taste after it finishes cooking.
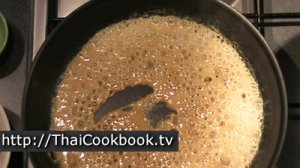
Step 10
After the sugar melts away, add the pieces of chicken to the pan, stirring them around until they are well-coated with the curry. Cover the pan and let it cook on each side for about 5 minutes.
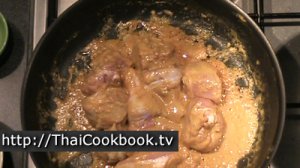
Step 11
Keep checking the chicken, as the curry may dry out and you'll need to add water to keep it from getting burned. Not too much water, just use about 1/4 cup at a time. Check the flame to make sure it's not too high.
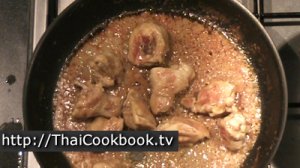
Step 12
When the chicken has browned a little and is thoroughly cooked, add in the other half of the coconut milk. (Save a couple of tablespoons of milk to use as a garnish later) Let it get hot again, and cook for about 5 minutes, boiling very slowly.
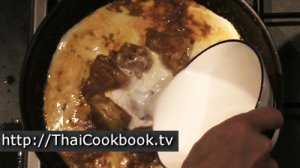
Step 13
When the curry is nice and creamy, add the potato and onion. Add a little water if needed to barely cover everything. Let it cook for about 10 minutes, or just until the potatoes are a little soft. Do not overcook, as you want the potato to be firm in the soup when you serve it.
Note: While cooking this last step, you want to taste the curry and season it to your own tastes. If it's too salty add water. If it needs salt add a little more fish sauce. It should be slightly sweet, so add more sugar if you think it needs it.
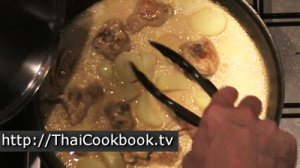
Step 14
When the potatoes are cooked, add in the baby corns. You don't need to cook them much at all, so stir them in and then turn off the heat. They'll stay nice and firm this way.
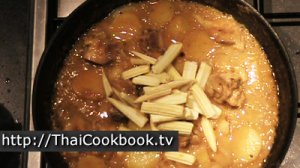
Step 15
Let the curry sit in the pan and cool for about 10 minutes. This allows the oils and coconut to separate and float to the top, making a nice rich orange and yellow color.
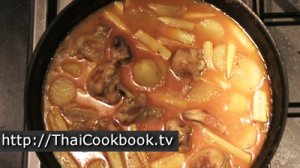
Step 16
Ladle the curry into a medium-sized bowl, or two smaller bowls if you prefer it that way. Drizzle a little of the coconut milk that you saved earlier over the top. This will make beautiful color combinations as it mixes with the fat on top of the curry.
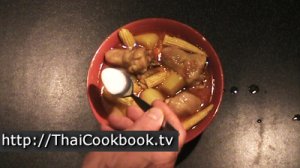
Step 17
Garnish with the slivered chilies, and serve with a small plate of Thai Jasmine rice, and our Cucumber Relish if you have some. This curry is like a thick stew, so it's also great just eaten alone. The chicken, potatoes and corn make a hearty bowl of food.
